

Portfolio: Building the Shell
Inserting the Header
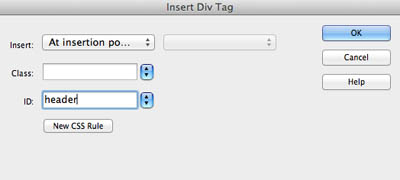
- Click the Insert Div Tag button
- With your cursor still inside the wrapper <div>, we can set the insert point to "at insertion point"
- Alternative – select "after start of tag" from the insert drop down menu
- You will note that drop down menu to the right will become active and displays "body". Select <div id="wrapper"> from this drop down menu
- Type "header" in the ID box
- Click the New CSS Rule button
- A new CSS Rule dialogue box appears
- Click OK
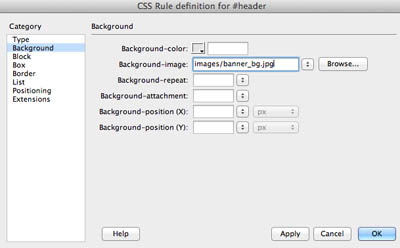
- The CSS Rule Definition for #header dialogue box opens
- Slect the Background property in the Category column
- I've provided a background image for you for now so you can see how to insert a background image. You'll change this later after you've designed your own header
- Click the browse button
- Navigate to the images folder inside the "lastname_firstname_portfolio" folder
- Select "banner_bg.jpg"
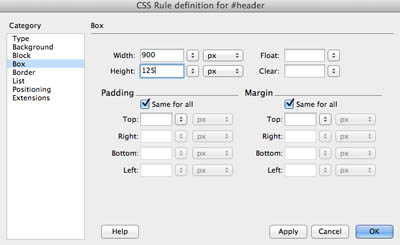
- Next, select the Box property
- Type 900 in the width box and leave the unit at "px" (pixels)
- Type 125 in the height box and leave the unit at "px" (pixels)
- Click OK
- The Insert Div Tag dialogue box re-appears
- Click OK again
- In the index.html document, you should see the banner image with the text "Content for id "header" goes here"
- Delete the text from the header

Next Steps
In the next exercise, you will continue building the layout for your portfolio.
Click here for the next tutorial
