

Portfolio: Inserting and Styling Content
Inserting Career Exploration Dream Job Research
We will place the content for the Dream Job research below the Career Intro Writing or the Expert Letter, so make sure you open the Career Research Dream Job in Word.
Create a new folder in the images folder to house all the images for the Career Exploration page – title it with an appropriate, descriptive name.
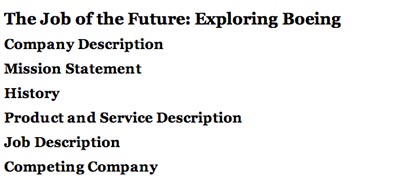
- In the space below the Intro Writing or the Expert Letter, type a descriptive title for the Dream Job research such as "Dream Job: Destination Microsoft", or "The Job of the Future: Exploring Boeing"
- Highlight the text and change the format to a Heading 1 in the Properties Inspector
- Type the following sub-headings:
- Company Description
- Mission Statement
- History
- Product Description or Service Description (choose the one that fits best)
- Job Description
- Competing Company
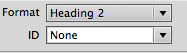
- Highlight each of these sub-headings, and apply the "heading 2" format in the Properties Inspector
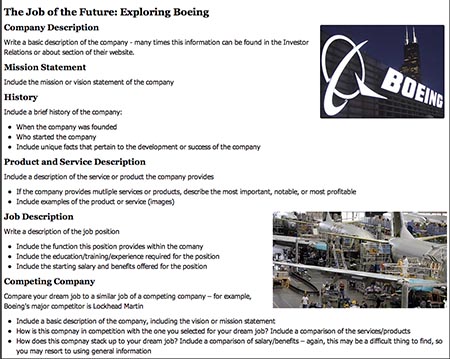
- Your page should look similar to the image below
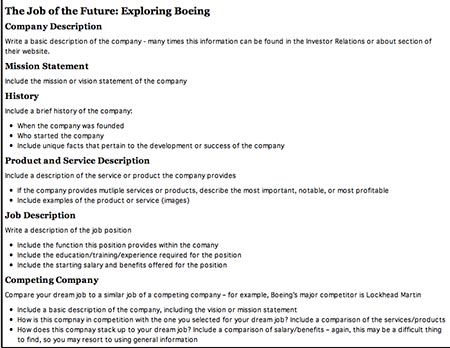
- Copy the content for the "Company Description" from your Word document
- In Dreamweaver, click Edit > Paste Special (ctrl + shift + v) and make sure the radio button for "Text Only" is checked
- Click OK
- Apply the <p> tag to the text where appropriate
- Repeat the procedure to complete the remaining content for the above sections
- Your document should look similar to the image below


Inserting Images in the Dream Job Research Section
To add some visual interest to our page, we will add images related to the "Dream Job" section. Consider using images such as a company logo, products or services provided by the company, or people performing a task related to the job.
Important note: you may need to resize the images you want to use in Photoshop first to make them work for this section. DO NOT resize the images in Dreamweaver!
- Place the cursor in the location you would like to add an image – in this case, we will insert an image at the same level as the first sub-heading "Company Description" so we placed the cursor at the beginning of this heading
- Select Insert > Image
- Navigate to the images folder inside the portfolio folder
- Select an image and click OK
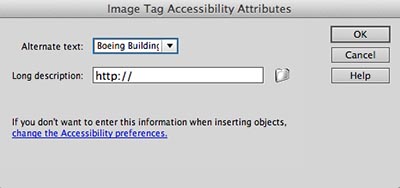
- The Image Accessibility Attributes (alt tag) dialogue box opens
- Type an appropriate name for the image
- Click OK
- Align the image appropriately by right-clicking on the image and selecting align
- We chose to align the image to the right to flow with the text like the example below
- Continue to insert images that are appropriate and fit well with your design
- Select File Save all
Next Steps
In the next exericse, you will insert and style content for the Showcase page.
