

Portfolio: Inserting and Styling Content
Inserting Content for the Showcase Page
For each work sample listing, you will include a title, a basic description of the assignment, and a graphic thumbnail image. With some work samples, you won't have a graphic readily available because the assignment didn't require it. However, for the work sample listing, you need to include one to add visual interest. So if you don't have an image to accompany the listing, you will either need to find one that is representative of the work sample, or make one in Photoshop.
You must include a minimum of five (5) work samples
Inserting a Work Sample
- Open "showcase.html" by double-clicking on the file in the Files panel
- Delete any extra spaces or filler text – leave at least one blank space to enter content
- Type in a great title for the work sample
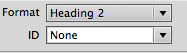
- Change the format to a heading 2 in the Properties Inspector
- Hit the enter/return key to drop down a line
- Type a description of the work sample by following the below outline
- Write a one-sentence description about the purpose of the assignment
- Write a sentence describing the learning outcomes – i.e., explain the skills and/or concepts needed/learned to complete the assignment
- Write a sentence explaining how this assignment/project relates to the real world/college/future career
- Write a sentence explaining why you are proud of your work and/or growth in skills pertaining to this assignment
- Your work sample should look similar to the image below
- Hit the enter/return key to drop down a line
- Type "Click here to view "insert Title of Work Sample" – insert the name of the title between the quotation marks
- Highlight the text "Click here to view "insert Title of Work Sample"
- Link the document file for this work sample by clicking on the Browse for file icon in the Properties Inspector and navigating to the file in the "workSample" folder, or by using the Point-to-file tool and pointing to the file in the Files panel
- Your work sample listing should look similar to the image below
- Next, place the cursor to the left of the title of the work sample
- Select Insert > Image
- Navigate to the thumbnail image for the work sample
- Click OK
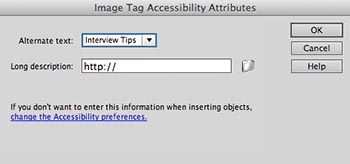
- The Image Accessibility dialogue box opens
- Type in an appropriate name/description for the image
- Click OK
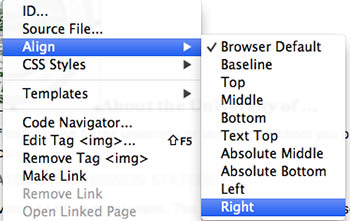
- Align the image right by right-clicking on the image, and selecting align > right
- Your work sample listing should look similar to the image below
- Next, we need to create a link for the thumbnail image
- Click the thumbnail image
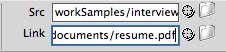
- In the Properties Inspector, you will note there is a link box for the image
- Link the orginal or full-sized document file for this thumbnail by clicking on the Browse for file icon and navigating to the file in the "workSample" folder, or by using the Point-to-file tool and pointing to the file in the Files panel
- With the thumbnail image still selected, in the Properties Inspector, locate the Target drop-down menu
- Select "_blank"
- By setting the target to "_blank", the linked item will open in a new tab or a new window instead of the existing window
- Hit the enter/return key to drop down a line to add the next work sample listing
- Continue to add work samples using the process above so you have at least five (5) work samples listed like the example shows below


Next Steps
In the next exercise, you will create a favicon to be displayed with your name and the link to your portfolio page.
