

Portfolio: Designing the Banner
The banner on a webpage is an instrumental piece in grabbing attention and letting your audience know what your page is all about. It's a clear refection of you so keep the word "professional" in mind.
Banners come in various sizes and are often dictated by the layout of a site. For your portfolio site, you will be creating pages that are centered in a web browser and are 900px wide – a fairly basic layout, but perfect for our purposes and keeping it simple is the name of the game.
Create a Banner
- In Photoshop or Fireworks (whichever you prefer), create a new 900 x 125 pixel document
- Design a banner with a theme based on your collegiate ( post-secondary education) or career interest
- Use a similar color scheme from the college or the company you would love to work for
- You may use a logo from the college or the companyr, but make sure the logo looks good – no white background, make it transparent so it blends in with your banner background
- You must also include the following:
- Your first and last name – needs to stand out the most
- The title "Digital Portfolio" somewhere in the banner
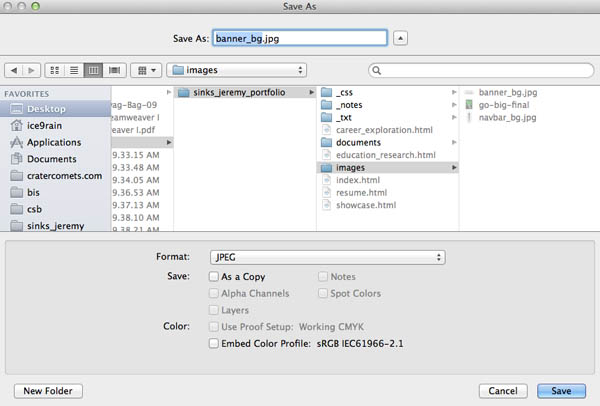
Save as a JPEG and title it "banner_bg". Save in the images folder in your portfolio folder.
When you save the file name as the same name "banner_bg", you get a dialogue box that asks if you want to replace the file. Click "yes". By doing it in this way, you won't need to go back into Dreamweaver and re-insert the banner image in the header <div>. However, if you don't save the image as the same name, see the instructions below for inserting the new banner image
TIP: save both the .psd and .jpg files in your images folder so if you need to make a change later, you still have the original .psd file to modify.
Student Portfolio Examples
Check out these examples to help your get started:
Inserting the Banner Image in the Porfolio
If you saved the banner image as the same file name in the step above, open the "index.html" file in your portfolio to see if the new image appears in the header header <div>. If you still see the same banner image as before, or if your banner image doesn't quite look right, follow the steps below to re-insert your new banner image
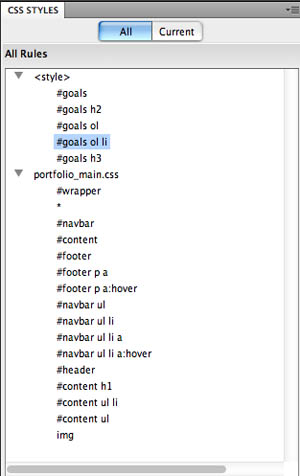
- In the CSS Styles Panel, you should see a list of all the styles we've created so far for the elements (tags) used for index.html in the portfolio
- Take a quick note about where these styles are located. The global styles, or the styles applied to common elements (tags) for each page are housed under "portfolio_main.css". The styles applied only to index.html fall under <style> which consist of all the styling for the goals <div> tag.
- If your list doesn't look like image to right, you can easily move style around in the CSS Styles panel by clicking on the name of the ID or tag, and dragging it to the desired location. Just be aware that when you move styles to the external stylesheet "portfolio_main.css", these styles may be applied to other pages. Furthermore, the local styles you move in "index.html" are only applied to index.html, so you may end up with some duplicate styles in your other pages.
- To check to see if you have duplicate styles on other pages, open the rest of your pages in the portfolio. Select one to look at. Look at the CSS Styles panel and check to see if you have duplicate ID's or tags under <style> and "portfolio_main.css".
- It's wise to delete the duplicate styles under the local <style> instead of the external stylesheet "portfolio_main.css
- To delete duplicate styles, select the ID or tag you wish to delete, and click the trash can button at the bottom the CSS Styles pane
- Select the "header" ID in the CSS Styles panel
- Click the edit rule button (looks like a pencil)
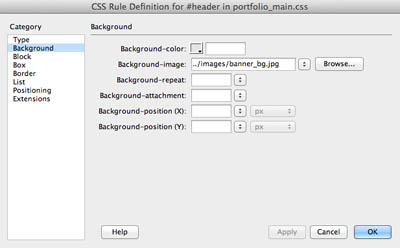
- The CSS Rule Definition for #header dialogue box opens
- Select the Background property from the Category column
- Click the Browse button to the right of Background-image
- Navigate to the banner image in the "images" folder
- Note: double check that you are selecting the image through your U drive
- Click OK
- After clicking OK, you are taken back to the CSS Rule Definition for #header dialogue box
- click OK
- Double check to make sure the banner image appears in the header <div>
Next Steps
In the next exercise, we will begin inserting and styling content for your portfolio pages, starting with the resume page.
