

Portfolio: Inserting and Styling Content
Inserting "Goals" for the Home Page
For the goals section, we're going to add a bit of dimension to the Goals section instead of simply inserting the goals as we did the Resume Profile. Do this, we're going to nest a <div> tag inside of the content <div>
Before we get started, make sure you have the goals Word document open.
- If you have enough text from your Profile bullet points to extend beyond the graphic, Place the cursor in the empty paragraph below the bullet points. Note: if you needed to follow the steps "Creating a "Clear" Class – Optional Step for Long Graphic" outlined in the previous tutorial, read below
- If your text doesn't extend below your graphic and you followed the steps outlined in "Creating a "Clear" Class – Optional Step for Long Graphic", then place (by clicking) your cursor at the very bottom of the content <div> – you may or may not see the cursor blink in this case; move on to the next step
- Click the Insert Div Tag button
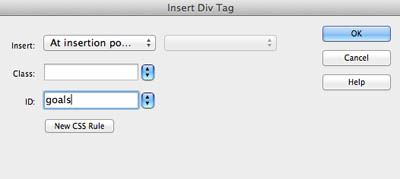
- The "Insert div tag" dialogue box opens
- We will insert this <div> tag at the insertion point
- Type "goals" in the ID box
- Click the New CSS Rule button
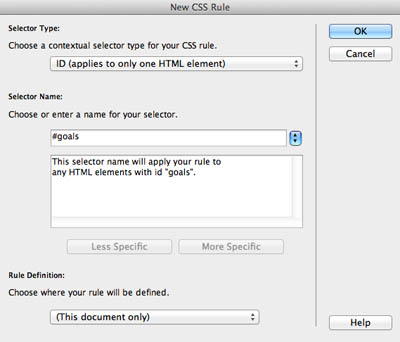
- The New CSS Rule dialogue box opens
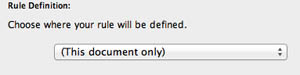
- The goals section will only be found on the index.html page, so we won't place the styling for this <div> and subsequent elements (tags) in the external stylesheet "portfolio_main.css". Instead, we will place the styling in the local stylesheet.
- To change where styles are placed, click the drop down menu at the bottom of the New CSS Rule dialogue box
- Select "This document only" – by placing our styles for the Goals section only in the index.html page, we are creating embedded styles
- For the rest of the tags/elements we will be styling for the goals <div>, make sure the placement drop-down box reads "This document only"
- Click OK
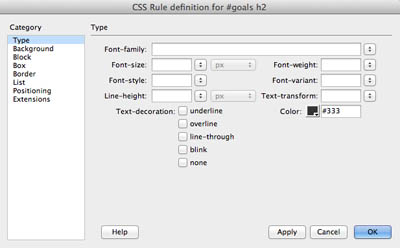
- The CSS Rule Definition for #goals dialogue box opens
- Click the color picker box
- We're going to create a bit of contrast with this <div> tag, so we need to select a bright color for the text – select white (#FFF)
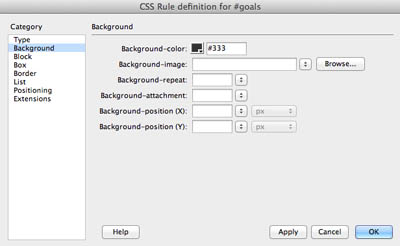
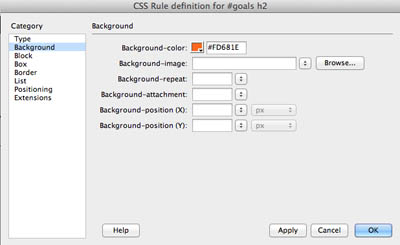
- Select the Background property in the Category column
- For the Background-color click the color picker box and select the darkest gray (#333) right below the black
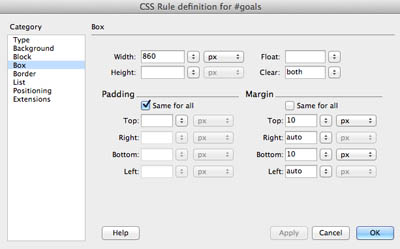
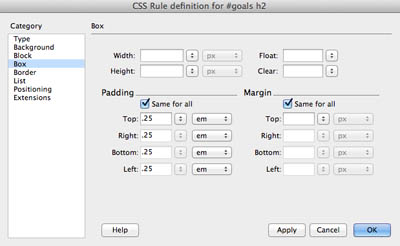
- Next, select the Box property in the Category column
- Type 860 in the Width box – we will make this box slightly smaller than the 900 pixel wrapper <div>
- In the Clear drop-down box, select "both" – this will help ensure that the goals <div> falls below the Resume Profile text and the "Go Big" image above
- In the Margins section, UNCHECK the "same for all" box
- Type 10 in the Top and the Bottom boxes – this will give some spacing between the top of the goals <div> and below it
- Select "auto" from the Right and Left drop-down boxes so the goals <div> is centered in the content <div>
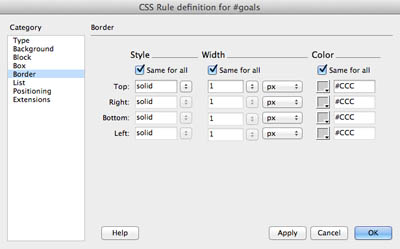
- Select the Border property in the Category column
- Select "solid" for all four (4) all sides under the Style section
- Type 1 for all four (4) sides under the width section – leave the unit at px (pixels)
- Click the color picker and select the lightest gray (#CCC) for all four (4) sides
- Click OK
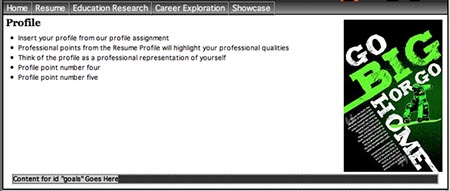
- You should see a dark box just under the "Go Big" image centered inside the content <div> with the text "Content for id "goals" goes here"
- Select the text "Content for id "goals" goes here" and type "Goals"
- Select the "Goals" text
- Change the format from a "paragraph" to a "Heading 2"

- We will use a "Heading 2" format because we've already used a "Heading 1" format for the "Profile" text above and we want to style the "Goals" text a bit differently. We want to avoid using the same "Heading 1" format because the properties we defined earlier for the "Heading 1" element will be passed down to the properties of a "Heading 1" element used again inside of the content <div>. This is called inheritance. Since our goals <div> is inside of the content <div>, any properties for elements (tags) we style for the content <div> will be passed down to the elements (tags) used in the goals <div>
- Select the "Goals" text
- Click the <h2> tag in the Tag Selector so it appears bubbled

- Click the New CSS Rule button
- The New CSS Rule Dialogue box opens
- Click the Less Specific button two (2) times so "#goals h2" reads in the Selector Name box
- Click OK
- Click the color picker box and select the same dark gray as the background color of the goals <div>
- Then, select the Background property in the Category column
- Click the color picker box for the Background-color property
- When the swatches open, note the cursor changes to an "eyedropper." You should be familiar with this tool in Photoshop. New for CS5, you can click the eyedropper anywhere in the document window!
- Sample the orange color in the banner where it says "Portfolios" by clicking the eyedropper in the orange. You'll know you did it right if the color orange appears in the color picker box with the hexadecimal number #FD681E
- Select Box property in the Category column
- In the Padding section, type .25 for all four (4) sides and change the unit from px (pixels) to em
- Click OK
- You may notice that your previously dark gray box is now orange. This is because the goals <h2> tag takes up the entire space in the goals <div> tag, and since we gave the goals <h2> tag an orange background, the box appears to have an orange background. Let's fix that
- Place the cursor directly after the "Goals" text
- Hit the return/enter key – presto! The dark gray reappears
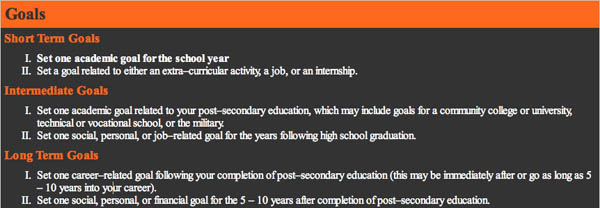
- Type "Short Term Goals
- Hit the return/enter key
- Type "Intermediate Term Goals
- Hit the return/enter key
- Type "Long Term Goals"
- Select EACH line individually and change the formatting from a "paragraph" to a "Heading 3"

- Click the <h3> tag in the Tag Selector so it appears "bubbled"

- Click the New CSS Rule button
- The New CSS Rule dialogue box opens
- Click the Less Specific button two (2) times so "#goals h3" reads in the Selector Name box
- Click OK
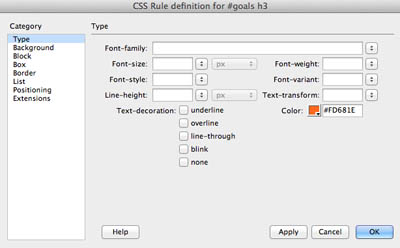
- The CSS Rule Definition for #goals h3 dialogue box opens
- Click the color picker box and click the eyedropper in the background color of the "Goals" heading. You should end up with the same orange as before (#FD681E)
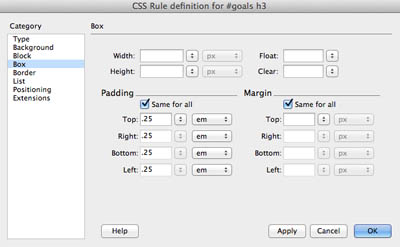
- Select the Box property in the Category column
- In the Padding section, type .25 for all four (4) sides and change the unit from px (pixels) to em
- Click OK
- Place the cursor directly after the text "Short Term Goals"
- Hit the return/enter key
- Copy your first goal in the "Short Term Goals" section in your Goals Word document
- Paste the text in the empty slot underneath "Short Term Goals" in index.html
- Select the text you just pasted under "Short Term Goal
- Click the Ordered list button in the Properties Inspector panel

- You will note that the numbered bullet does not appear next to the sentence like in the image below (for some, this may appear outside of the goals <div>) – again, this is due to clearing the default padding and margin values; we will fix this in just a minute
- Hit the return/enter key
- Copy the second goal in the "Short Term Goals" section in your Goals Word document
- Paste the text in the empty slot under the first goal you just brought in
- Repeat the procedure for "Intermediate Goals" and "Long Term Goals"
- Place the cursor in any of the list items in the goals <div>
- Click the <ol> tag in the Tag Selector

- Click the New CSS Rule button
- The New CSS Rule Dialogue box opens
- Click the Less Specific button two (2) times so "#goals ol" reads in the Selector Name box
- Click OK
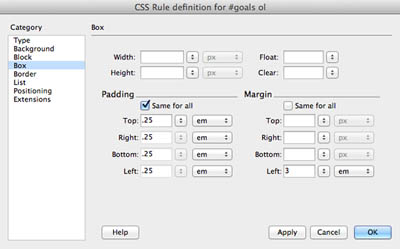
- The CSS Rule Definition for #goals ol dialogue box opens
- Click the box property in the Category column
- In the Padding section, type .25 for all four (4) sides and change the unit from px (pixels) to em
- In the Margin section, UNCHECK the "same for all" box
- In the Left box, type 3 and change the unit from px (pixels) to em
- Select the List property in the Category column
- For an ordered list, you have a few more options for the List-style-type than an unordered list
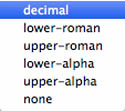
- decimal – numbered 1, 2, 3, 4, etc.
- lower-roman – i, ii, iii, iv, etc.
- upper-roman – I, II, III, IV, etc.
- lower-alpha – a, b, c, d, etc.
- upper-alpha – A, B, C, D, etc.
- Choose one that suits your preference. Leaving the the List-style-type box blank automatically defaults to "decimal"
- Click OK
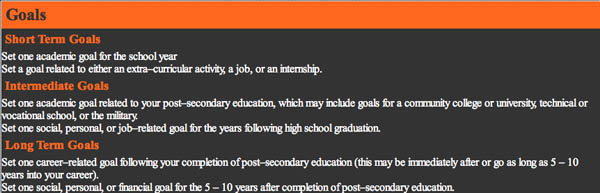
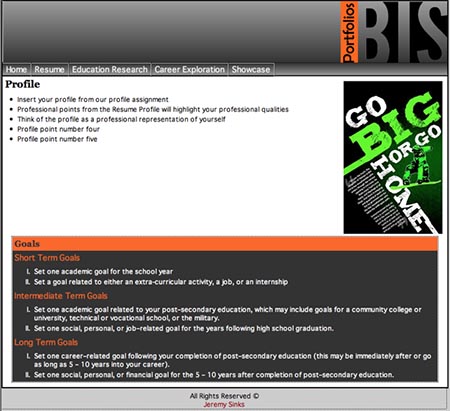
- Your Goals section should be styled similarly to the image below
- Place the cursor in any of the list items in the goals <div>
- Click the <li> tag in the Tag Selector

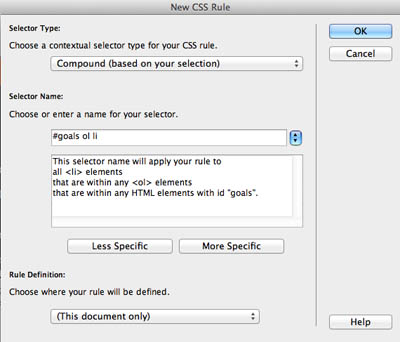
- Click the New CSS Rule button
- The New CSS Rule Dialogue box opens
- Click the Less Specific button two (2) times so "#goals ol li" reads in the Selector Name box
- Click OK
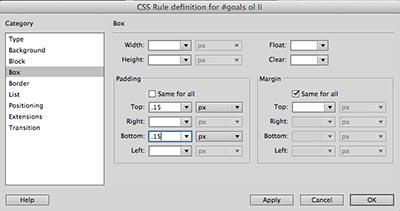
- The CSS Rule Definition for #goals ol li dialogue box opens
- Select the Box property in the Category column
- In the Padding section, UNCHECK the "same for all" box
- For the Top and Bottom boxes, type .15 and change the unit from px (pixels) to ems (em)
- Click OK
- Click File > save all


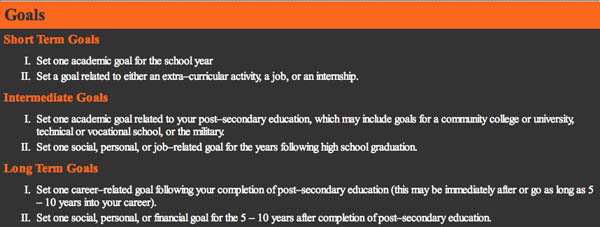
If everything came out right, your index.html content <div> should look similar to the image below
Next Steps
In the next exercise, we will insert and style content for the Education Research page
