

Portfolio: Inserting and Styling Content
Inserting the "About" Content for the Education Research Page
Before we get into inserting content for the Edcuation Research page, take time to collect images directly related to the school you researched. Gather a variety of images to create visual interest to accompany the research. Below is a list of suggestions:
- school logo
- school mascott
- campus photos
- students in action
- dorm photos
- images related to your major
- graduation photos
Create a new folder in the images folder to house all the images for the Education Research page – title it with an appropriate, descriptive name.
Required Content for First Year Students
First year students are responsible for completing and inserting the required content from the Education Research assignment, as well as appropriate images of the institution.
Required Content for Second Year Students
The content for this page will depend on which option you selected for the Edcuation Research assignment. You MUST include the research about the school/institution outlined under the "First Years – So, You Want to be a(n)..." section. You are free to use the same design/format from last year's portfolio if your educational interests didn't change; however, if your interests did change, then your page should include only the new research you conducted based on your shift in interest.
If your educational interest(s) didn't change and you are using the research from last year, then you MUST include one of the following required assignments:
- College Visit Reflection
- Crater Foundation Essay
Inserting the "About" Research Content
While you might think about copying and pasting the entire Word document with your research, I recommend you copy and paste sections at-a-time to minimize the amount of "clean up" in formatting. You are welcome to experiment and/or use your own method for inserting content for this page; however, the instructions outlined in this tutorial will be based on copying and pasting sections from an example document.
Note: you are free to format this page according to your own style; however, you will be responible for presenting the information in a clean, organized way and MUST include sub-headings to break up and organize the page effectively.
- Open all the necessary Word files with the research content and/or reflection essays
- In Dreamweaver, open "education_research.html" by double-clicking on the file in the Files Panel
- Delete the text "Education Research" and most or all of the extra spaces we inserted previously
- Type an appropriate title for this page – be descriptive, be creative. Titles like "My Education Plan" or "Education Research" will automatically earn you a "1" for this page. Appropriate suggestions include:
- "Edcuation Research: Research for Tomorrow"
- "The Most Important Research Assignment of My Young Adult Life"
- "I see a Duck in the Future"
- "Beaver Tracks: My Path to College"
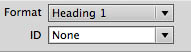
- Hightlight the text you just typed in, and apply the "heading 1" format in the Properties Inspector
- Since we've already styled the <h1> tag, we shouldn't need to adjust the styling of this heading
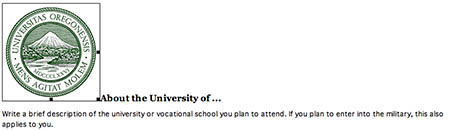
- Type "About insert name of school here" – i.e. "About the University of Oregon"
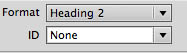
- Highlight the text you just typed and apply the "heading 2" format in the Properties Inspector
- Since we've already styled the <h2> tag, we shouldn't need to adjust the styling of this heading
- Copy the description sentence(s) of the university, vocational, or technical school you researched
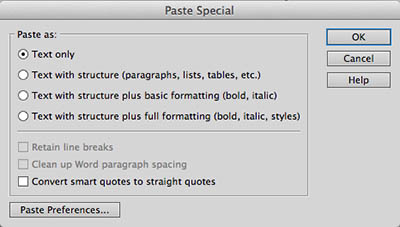
- Back in Dreamweaver, select Edit > Paste Special
- Click the radio button for "Text Only"
- Click OK
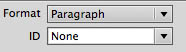
- Highlight the text just you just pasted, then apply the "paragraph" format in the Properties Inspector if it doesn't have the <p> tag applied to it already
- Important note: if your sentence is formatted as a numbered list or bullet point in Word, you may need to delete the point. We will use paragraphs for the majority of the formatting for this tutorial
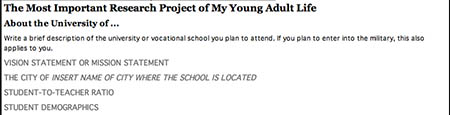
- Your page should look similar to the example below
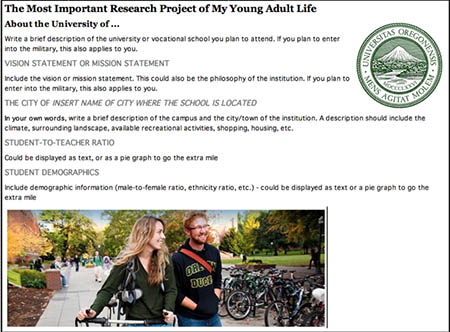
- Type the following sub-headings for this section:
- Vision Statement or Mission Statement
- The City of insert name of city where the school is located
- Student-to-Teacher Ratio
- Student Demographics
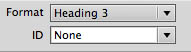
- Highlight each of these sub-headings, and apply the "heading 3" format in the Properties Inspector
- Place your cursor in one of these sub-headings with the <h3> tag applied
- Click the <h3> tag in the Tag Selector so it appears "bubbled" and highlights the sub-heading
- Click the New CSS Rule button
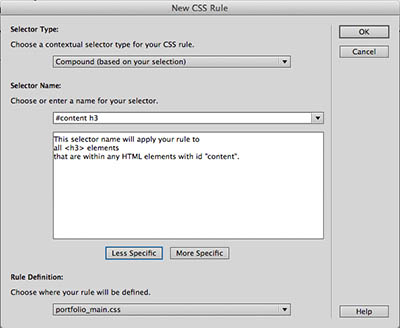
- The New CSS Rule dialogue box opens
- Click the Less specific button one (1) time so the Selector Name read "#content h3" like the image below
- Click OK
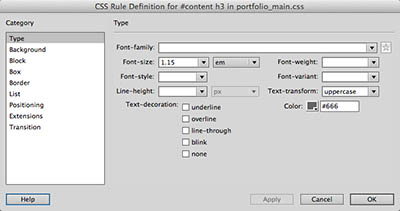
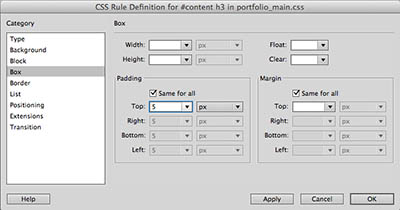
- The CSS Rule Definition for #content h3 dialogue box opens
- With the Type property selected in the Category column, Type "1.15" in the Font Size box, then change the value type from pixels (px) to ems (em) in the drop down menu
- Select "Uppercase" from the Text Transform drop down menu
- Select a different shade of color for the font by clicking the Color Picker box – we chose a medium gray (#666)
- Note: you do not need to adhere to all the styling settings shown above – you are free to style this heading to fit your design
- Next, select the Box property in the Category column
- In the Padding property section, type 5 for all four (4) sides
- Click OK
- Note the changes to the <h3> tag
- Copy the content for the Vision/Mission Statement from your Word document
- In Dreamweaver, click Edit > Paste Special (ctrl + shift + v) and make sure the radio button for "Text Only" is checked
- Click OK
- Apply the <p> tag to the text where appropriate
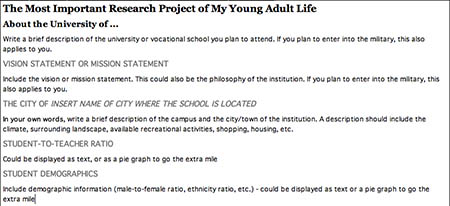
- Repeat the procedure to complete the remaining content for the "About" section


Inserting Images in the About Section
To add some visual interest to our page, we will add images related to the "About" section. Consider using images such as a school logo, school mascott, or of the city where the school is located.
Important note: you may need to resize the images you want to use in Photoshop first to make them work for this section. DO NOT resize the images in Dreamweaver!
- Place the cursor to the left of the "About" heading
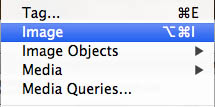
- Click insert > image
- Navigate to the images folders and select the image you want to use
- Click OK
- The Image Tag Accessability Attributes dialogue box opens
- Type an appropriate name for this image – i.e., "University of Oregon Logo"
- Click OK
- The image will be placed to the left of the heading "About ..." – we will adjust the alignment of the image in the next step
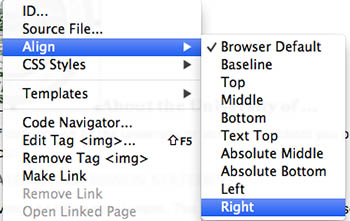
- Right-click on the image, select align > right to position the image to the right inline with the text
- You should see the image align to the right of the text
- Add another image or two (depending on the amount of space and size of images you have) by repeating the procedure above
- You are free to experiment with the image placement in the text – like in the example below
- Leave a blank line at the bottom of the About section to insert the next sub-heading "Academics"
- Select File > Save All

Next Steps
In the next exercise, we will insert the content from the "Academics" section of the Educuation Research assignment.
