Portfolio: Inserting and Styling Content
Inserting the "Academics" Content for the Education Research Page
Continuing on with inserting the content for the Education Research page, open your Education Research Word document if it's not open already.
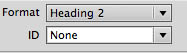
- Type "Academics" in the empty space you left under "About" section
- Highlight the text you just typed and apply the "Heading 2" format in the Properties Inspector
- Hit the enter/return key to drop down a line
- Type the following headings:
- Admission Requirements
- Insert name of undergrad program – i.e., "Engineering Program"
- Insert name of major – i.e., "Mechanical Engineering Major"
- Degree Sought
- Highlight each of these sub-headings, and apply the "heading 3" format in the Properties Inspector
- Place the cursor after the "Admissions Requirements" sub-heading
- Hit the enter/return key
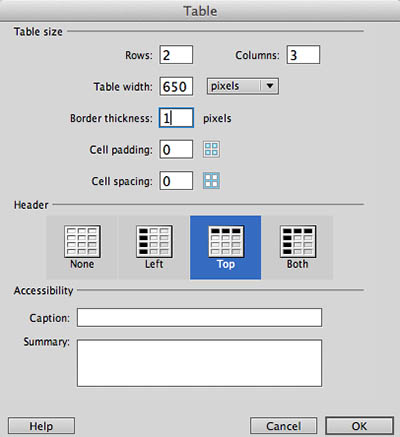
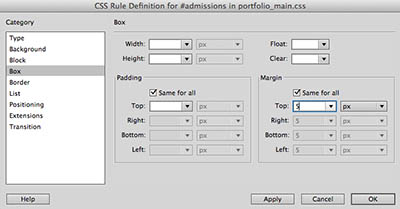
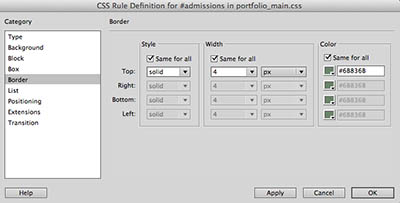
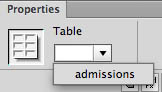
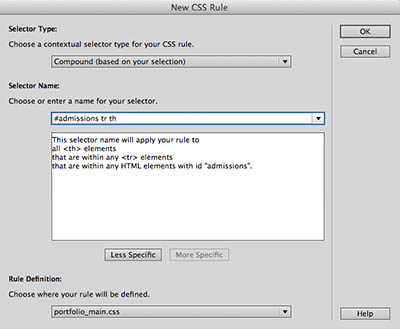
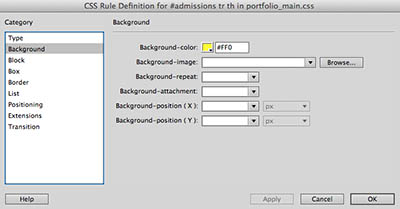
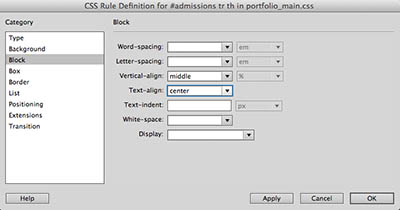
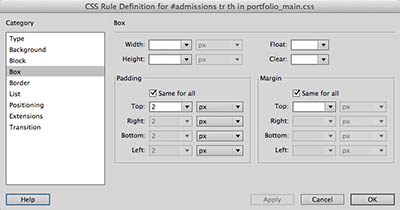
Inserting and Styling a Table to Display Information for Admission Requirements
Select Insert > Table
Type "2" in the Row box
Type "3" in the Column Box
Type "650" in the Width box and change the value type to pixels (px)
Type "1" for Border Thickness
Type "0" in the Cell Padding and Cell Spacing boxes
Under the Header section, Click the Top format
Click OK
Your table should look similar to the one below – if you ended up with an extra space below the table, place the cursor in the empty space and hit the backspace/delete key
Type the following headings for each of the top cells in the table like the image below:
- GPA
- SAT/SAT Scores
- High School Courses
We're going to apply some specific styling to this table by creating a new ID and apply it to the table
Click the New CSS Rule Button in the CSS Styles panel
The New CSS Rule dialogue box opens
Change the selector to "ID" by clicking the Selector Type drop down menu
Type "admissions" in the Selector Name box
Click OK
The CSS Rule Definition for #admissions dialogue box opens
Select the Box property in the Category column
In the Margin property section, type "5" for all four sides and leave the value type as pixels (px)
Select the Border property in the Category column
In the Style section, select "solid" fromt the drop down menu for all four (4) sides
In the Size section, type "4" and leave the value type as pixels (px)
In the Color section, select a color from the color picker box that complements your color scheme – I chose a color from the U of O seal image I inserted earlier
Click OK
Now we need to apply the ID to the table
Select the table by clicking on the edge of the border – you will know it's selected if the <table> tag is selected in the Tag Selector
In the Properties Inspector, click inside the ID box and select "admissions"
By applying the ID "admissions", the table should look similar to the image below
Next, place the cursor in one of the top cells with a heading
In the Tag selector, click the <th> tag so it appears "bubbled"
Click the New CSS Rule Button
The New CSS Rule dialogue box opens
Click the less specific button two (2) times to eliminate the #wrapper and #content IDs so the Selector Name reads: #admissions tr th – if you don't see this exact compound selector in the Selector Name box, type the correct name as shown in the image below
Click OK
The CSS Rule Definition for #admissions tr th dialogue box opens
Select the Background property in the Category column
Choose a Background-color that is appropriate for your design – I chose a yellow to compliment the U of O color scheme
Select the Block property in the Category column
For the Vertical-align property, Select "middle" from the drop down menu
For the Text-align property, select "center" from the drop down menu
In the Padding property section, type "2" for all four (4) sides and leave the value type as pixels (px)
Click OK
The top row of the table should look similar to the image below
Enter the appropriate information under each heading
Apply the "paragraph" format to text where appropriate
For the content for "High School Courses", apply an unordered list to the text like in the image below
Inserting Remaining Content Information for Admission
- Copy the individual information that applies to each of the remaining sub-headings
- Select Edit > Paste Special, or ctrl + shift + v, and click the "Text Only" radio button
- Clean up the text as needed
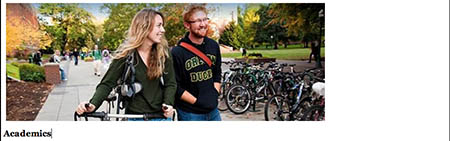
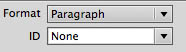
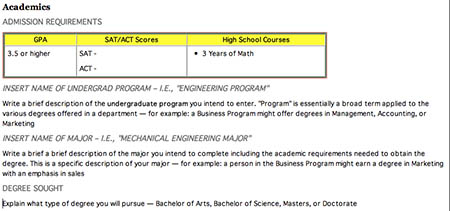
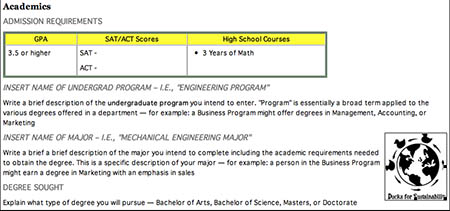
- Apply the "paragraph" format in the Properties Inspector where needed so the Admissions section looks similar to the image below
Inserting Images for the Academics Content
Insert an image or two to add visual interest to this section – use your best judgement about size and placment.
- Place the cursor in the location you would like to add an image – in this case, we will insert an image at the same level as the third sub-heading "Name of Major" so we placed the cursor at the beginning of this heading
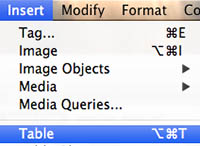
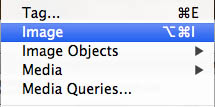
- Select Insert > Image
- Navigate to the images folder inside the portfolio folder
- Select an image and click OK
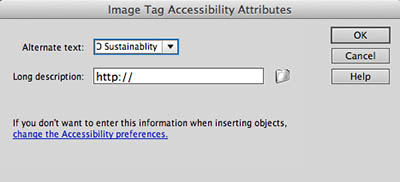
- The Image Accessability Attributes (alt tag) dialogue box opens
- Type an appropriate name for the image
- Click OK
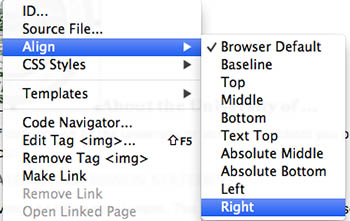
- Align the image appropriately by right-clicking on the image and selecting align
- We chose to align the image to the right to flow with the text like the example below
- Hit enter/return at the end of the last line to create an empty space to enter content for the next exercise
- Select File Save all
Next Steps
In the next exercise, we will finish inserting content for the Education Research assignment
Click here for the next tutorial