

Portfolio: Navigation
Styling the Navigation List
Time to give our navigation list some style! Before we get into the step by step process, we need to take a look at the tag structure of our navigation list.
There are three elements or tags we will need to style to create the look we want for the navigation menu. We've already seen what the tag structure for a list looks like, but we've added a link to each list item, which adds the <a> tag to our navigation list.
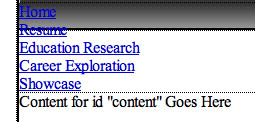
Click the cursor on any of the navigation list items, then take a look at the Tag Selector at the bottom of the Document Window
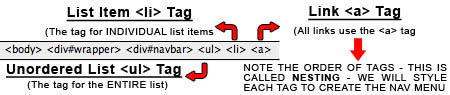
You should see the tag structure in the image above. We will need to style these three elements or tags to create our navigation menu:
- <ul> – for the <ul> tag we will eliminate the bullet points
- <li> – for the <li> tag we will change how the list is displayed from vertical to horizontal
- <a> – the <a> tag will receive most of the styling since it is the last nested tag in the list
Styling the <ul> Tag
- Place the cursor in any of the navigation list items
- In the Tag Selector at the bottom of the Document Window, Click the <ul> tag – the <ul> tag should appear to be selected in a bubble (see below image for reference)
- Next, Click the New CSS Rule button in the CSS Styles Panel
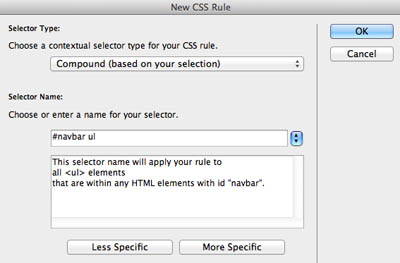
- The New CSS dialogue box opens
- In the Selector Name box, you should see "#wrapper #navbar ul"
- We don't need to include the #wrapper id in this selection, so click the Less Specific button one (1) time
- In the Selector box, it should now read "#navbar ul" – see image below for reference
- Click OK
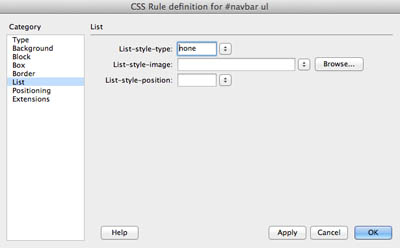
- The CSS Rule Definition for #navbar ul dialogue box opens
- Select the List property in the Category Column
- In the List-style_type drop down menu, select "none"
- Click OK
- The bullet points in the list should disappear

Styling the <li> Tag
For the <li> tag, we are going to style the list so it displayed horizontally instead of vertically. In the early days of HTML and CSS, there wasn't a way to position tags next to each other on the same horizontal plane – HTML was only designed to display tags vertically, one on top of another. This is because web browses parse a page from top to bottom.
This was a major issue for designers who wanted to create pages with better organization. Enter the "float" property. The "flaot" property allows designers to "float" elements next to each other. We will apply the float property to the <li> tag
- Place the cursor in any of the navigation list items
- In the Tag Selector at the bottom of the Document Window, Click the <li> tag – the <li> tag should appear to be selected in a bubble (see below image for reference)
- Next, Click the New CSS Rule button in the CSS Styles Panel
- The New CSS dialogue box opens
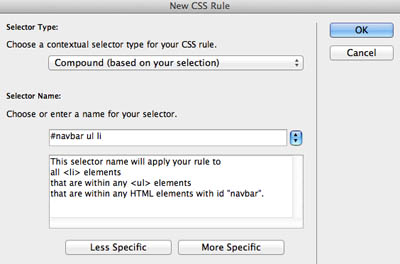
- In the Selector Name box, you should see "#wrapper #navbar ul li"
- We don't need to include the #wrapper id in this selection, so click the Less Specific button one (1) time
- In the Selector box, it should now read "#navbar ul li" – see image below for reference
- Click OK
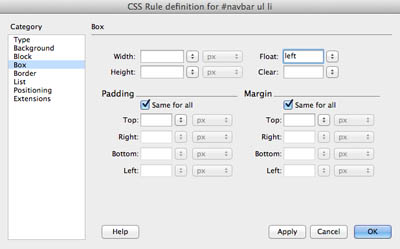
- The CSS Rule Definition for #navbar ul li dialogue box opens
- Select the box property in the Category Column
- In the Float drop down menu, select "left"
- Click OK
- The navigation list should now be displayed horiztonally in the navbar <div> instead of vertically
- You may note that there is no spacing between each navigation list item – don't worry about this, we will fix it in the next step


Next Steps
In the next exercise, you will style the links to finish up the navigation menu.
Click here for the next tutorial
