

Portfolio: Setting Up Page Properties
Setting Default Page Properties
Setting the basic page properties for your site is a huge time saver, not to mention a crucial part in design. When designing a site, you want to make sure all your pages have a consistent look, which means each page has the same font type, same font size, color, and so on.
We also want to make sure we have complete control over spacing in our layout. Both Dreamweaver and internet Browsers have built-in padding and margin values, which can lead to some frustration when designing a web layout and fitting content exactly. So we're going to clear out all the default padding and margin settings so we can specify our own.
CSS Styles Panel
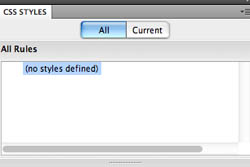
If you don't see the CSS Styles panel open, click Window in the menu and select "CSS Styles"
- Make sure you still have index.html open
- We'll be using the CSS Styles panel quite a bit, so you should dock this panel with your others so it's open instead of collapsed and is easily accessible
- Click the All button in the CSS Styles panel. By clicking All you will be able to see all the different styles associated with the page.
Setting Default Padding and Margin Values
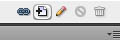
- In the CSS Styles panel, click the New CSS Rule button at the bottom of the panel
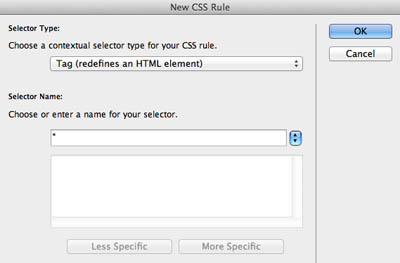
- Change the "Compound Based on Selection" in the drop down menu to "Tag"
- Delete Body from the Selector Name box
- Type in an asterisk (*) symbol in the Selector Name box
- Click OK
- You will see a CSS Rule Definition dialogue box open
- Click the Box property in the Category column on the left
- Enter zero (0) for the Padding and Margin properties
- Note the "Same for all" check boxes at the top – with this box checked, the value you enter is applied to all four sides of the box property (top, right, bottom, left)
- Click OK

Setting Default Font Type
- In the CSS Styles panel, click the New CSS Rule button at the bottom of the panel
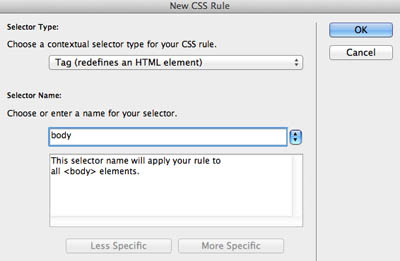
- Change the "Compound Based on Selection" in the drop down menu to "Tag"
- This time, we will target the body tag in the Selector Name box
- Click OK
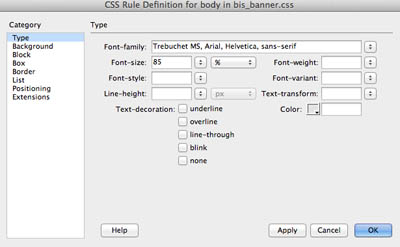
- You will see a CSS Rule Definition dialogue box open
- Select the default font family of your choosing
- Note that you don't have a hundered different font options to choose from. This is because there are are only a few standard fonts recognized by the World Web Consortium. Remember, not everyone is has the same font types downloaded on their computers, so if you use an obscure font type on your site, chances are, most people will not see that cool font but will see something else instead. Plus, font type sizes vary accross the board so your design may look completely different to someone else on thieir computer
- In the Font Size box, type in 85 and change the unit from pixels (px) in the drop down menu to percent (%)
- Setting the default font size to 85% is a little web designer trick that makes the font size appear more true to size
Setting Default Background Color
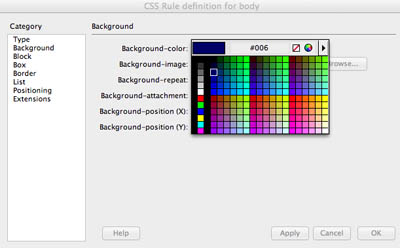
- With the CSS Rule Definition diaglogue box still open for the body, click the "Background" property in the Category column on the left
- If you accidently clicked OK in the last step, select the body tag in the CSS Styles Panel
- Then, click the Edit Rule button at the bottom of the CSS Styles panel – it looks like a pencil
- Click the Color Picker box next to "background-color"
- Select a color of your choosing
- Click OK
Next Steps...
In the next exercise, you will be introduced to tags and <div> tags.
Click here for the next tutorial
