

2018 – 2019 Digital Media Trimester 3 Agenda
Click the appropriate navigation option to view this week's agenda. BIS students looking to be organized and more efficient might find it useful to bookmark this page in your preferred browser.
Week 1: March 11 – 15
March 11
- Inservice/Professional Development – no school
March 12
- File Management
- Create a new folder titled "Digital Media 2018-19 Trimester 3"
- This will be where you save all your project files
- Photoshop – 1st Timers (1st time in Digital Media)
- Introducing Photoshop
- Melon Head Tutorial
- Spark - 2 Timers - Returning back to Digital Media
- Intro to Adobe Spark - we will introduce this in about 5 minutes
- Examples - Villains - CSB
- Teacher Tech - How to use Adobe Spark - if you need more info on how to use
- Assignment - Students are to create a Spark Webpage about themselves - this includes your interests (school, cars, sports, music, movies, books, etc), likes (friends, family, food, etc), age (year graduating, year in school, etc), activities (school, work, community), and anything else you can think of
- Intro to Adobe Spark - we will introduce this in about 5 minutes
- Go to Adobe.com and create a login - please use an email address you check and use a password you will remember. Call Rogan over to show him you have logged in.
- Think about all the things you are interested in - start sorting out those images
- Your Spark needs to incorporate multiple abilities of the program including (in order to get full points).:
- Title Fun title about This is Me!- subtitle can be your name
- images - there needs to be at least 4 images of you
- collage of images
- text
- video - of you would be fabulous - if you don't have a vid of you - something that works with your site
- add a button - this is a hyperlink to another page
- add a glideshow
- split a layout
- spell and grammar check
- This will be due at the end of class on Thursday - send us your Spark via email to Rogan and Sinks
- Photoshop – 3 Timers (you have been with us all year)
- Create a Nature Inspired Photo Manipulation
- All Asset files for this tutorial are found in the p drive – p/handouts/Sinks/digitalMedia/natureInspiredPhotoManipulationTutorial
- In Step 2- Open this texture in Photoshop, and place it in the document means to open that image and move it into your Photoshop doc you are working on
- In Step 13 - if you cannot find the warming filter - use one that looks good to you
March 13
- Photoshop – 1st Timers (1st time in Digital Media)
- Spark - 2 Timers - Spark Webpage about themselves
- Photoshop – 3 Timers - Create a Nature Inspired Photo Manipulation
March 14
- Photoshop – 1st Timers - I am Fruit
- Photoshop - 2nd Timers - Work with Layers
- Create a new folder inside your Digital Media folder – title it "Work with Layers"
- Download the image files – then move them to the "Work with Layers" folder you just created
- Do all 5 of the short exercises
- Understand Layers
- Learn Layer Basics
- Resize a Layer
- Add Images to a Layered Design
- Unlock the Background Layer
- Photoshop - 3rd Timers - The Raven – Create a Grungy Scene with Colorful Lights in Photoshop
March 15
- Photoshop – 1st Timers - I am Fruit
- Photoshop - 2nd Timers - Work with Layers
- Create a new folder inside your Digital Media folder – title it "Work with Layers"
- Download the image files – then move them to the "Work with Layers" folder you just created
- Do all 5 of the short exercises
- Understand Layers
- Learn Layer Basics
- Resize a Layer
- Add Images to a Layered Design
- Unlock the Background Layer
- Photoshop - 3rd Timers - The Raven – Create a Grungy Scene with Colorful Lights in Photoshop
- Asset files found in the handouts folder in the P drive - handouts>Sinks>Digital Media>raven_Grungy...LightsTutorial
Week 2: March 18 – 22
March 18
- Photoshop – 1st Timers - I am Fruit - Due today
- Photoshop - 2nd Timers - Work with Layers
- Create a new folder inside your Digital Media folder – title it "Work with Layers"
- Download the image files – then move them to the "Work with Layers" folder you just created
- Do all 5 of the short exercises
- You will upload ALL of the 5 images into our Synergy Dropbox Folder
- Understand Layers
- Learn Layer Basics
- Resize a Layer
- Add Images to a Layered Design
- Unlock the Background Layer
- Photoshop - 3rd Timers -
- The Raven – Create a Grungy Scene with Colorful Lights in Photoshop - Due Today
- Asset files found in the handouts folder in the P drive - handouts>Sinks>Digital Media>raven_Grungy...LightsTutorial
- New Assignment
- Make a Divinely Dark Zen Composition in Photoshop
- Asset files found in the handouts folder in the P drive - handouts>Sinks>Digital Media>
March 19
- Photoshop –1st Timers - Emoji - make an emoji of you using the Disney Emoji Maker - when you finish you willl need to screen shot it (Rogan/Sinks can show you). Then open in photoshop and recreate an emoji of you side by side
- Photoshop - 2nd Timers - Emoji - - make an emoji of you using the Disney Emoji Maker - when you finish you willl need to screen shot it (Rogan/Sinks can show you). Then open in photoshop and recreate an emoji of you side by side
- Photoshop - 3rd Timers - Emoji - make an emoji of you using the Disney Emoji Maker - when you finish you willlneed to screen shot it (Rogan/Sinks can show you). Then open in photoshop and recreate an emoji of you side by side
- Make a Divinely Dark Zen Composition in Photoshop
- The links to images may not work, so we saved those assets in the folder listed in the next bullet
- Asset files found in the handouts folder in the P drive - handouts>Sinks>Digital Media>darkZenComposition
March 20
- Parent/Teacher Conferences
March 21
- Parent/Teacher Conferences
March 22
- Parent/Teacher Conferences
Spring Break: March 25 – 29
Week 3 April 1 – 5
April 1
- Photoshop –1st Timers - Emoji - make an emoji of you using the Disney Emoji Maker - when you finish you willl need to screen shot it (Rogan/Sinks can show you). Then open in photoshop and recreate an emoji of you side by side - upload to Synergy dropbox
- Photoshop - 2nd Timers - Emoji - - make an emoji of you using the Disney Emoji Maker - when you finish you willl need to screen shot it (Rogan/Sinks can show you). Then open in photoshop and recreate an emoji of you side by side - upload to Synergy dropbox
- Photoshop - 3rd Timers - Emoji - make an emoji of you using the Disney Emoji Maker - when you finish you willlneed to screen shot it (Rogan/Sinks can show you). Then open in photoshop and recreate an emoji of you side by side - upload to Synergy dropbox
- Make a Divinely Dark Zen Composition in Photoshop
- The links to images may not work, so we saved those assets in the folder listed in the next bullet
- Asset files found in the handouts folder in the P drive - handouts>Sinks>Digital Media>darkZenComposition
April 2
- Photoshop –1st Timers - Emoji - make an emoji of you using the Disney Emoji Maker - when you finish you willl need to screen shot it (Rogan/Sinks can show you). Then open in photoshop and recreate an emoji of you side by side - upload to Synergy dropbox
- Photoshop - 2nd Timers - Emoji - - make an emoji of you using the Disney Emoji Maker - when you finish you willl need to screen shot it (Rogan/Sinks can show you). Then open in photoshop and recreate an emoji of you side by side - upload to Synergy dropbox
- Photoshop - 3rd Timers - Emoji - make an emoji of you using the Disney Emoji Maker - when you finish you willlneed to screen shot it (Rogan/Sinks can show you). Then open in photoshop and recreate an emoji of you side by side - upload to Synergy dropbox
- Make a Divinely Dark Zen Composition in Photoshop
- The links to images may not work, so we saved those assets in the folder listed in the next bullet
- Asset files found in the handouts folder in the P drive - handouts>Sinks>Digital Media>darkZenComposition
April 3
- Photoshop - Design Rogan_Text_Face
How to Create a Powerful Text Portrait from a Photo - YouTube - Save your finished image (jpg) as text_face_lastname - Upload to Synergy Dropbox
April 4
- Photoshop - Design Rogan_Text_Face
How to Create a Powerful Text Portrait from a Photo - YouTube - Save your finished image (jpg) as text_face_lastname - Upload to Synergy Dropbox
April 5
- Photoshop - Design - everyone will do this assignment -
- 80's Retro - using the template provided in the shared directory (handouts>Sinks>Digital Media>2018-2019>80s Retro)
- open the PSD
- Install the two fonts in that folder
- Open up each of the layer groupings to see what is in the different folders
- To edit the text (which are smart objects) do the following:
-
Follow these steps to edit the contents of a Smart Object (Edit the Text):
- In your document, select the Smart Object layer in the Layers panel.
- Choose Layer→Smart Objects→Edit Contents. ...
- Click OK to close the dialog box. ...
- Edit your file.
- Choose File→Save to incorporate the edits. When you go back to the document the text will be changed.
- Close your source file.
- Change the "year" to your birth year
- Change "music" to your name
- Change "Retro Vibes" to a saying you like to use
- Play around in each of the layers (maybe adjust gradients a bit and effects
- Save as last name_retro and upload to Synergy Dropbox
- 80's Retro - using the template provided in the shared directory (handouts>Sinks>Digital Media>2018-2019>80s Retro)
Week 4: April 8 – 12
April 8
- Photoshop - Design - everyone will do this assignment -
- 80's Retro Part 1 - using the template provided in the shared directory (handouts>Sinks>Digital Media>2018-2019>80s Retro)
- open the PSD
- Install the two fonts in that folder
- Open up each of the layer groupings to see what is in the different folders
- To edit the text (which are smart objects) do the following:
-
Follow these steps to edit the contents of a Smart Object (Edit the Text):
- In your document, select the Smart Object layer in the Layers panel.
- Choose Layer→Smart Objects→Edit Contents. ...
- Click OK to close the dialog box. ...
- Edit your file.
- Choose File→Save to incorporate the edits. When you go back to the document the text will be changed.
- Close your source file.
- Change the "year" to your birth year
- Change "music" to your name
- Change "Retro Vibes" to a saying you like to use
- Play around in each of the layers (maybe adjust gradients a bit and effects
- Save as last name_retro and upload to Synergy Dropbox
- 80's Retro Part 1 - using the template provided in the shared directory (handouts>Sinks>Digital Media>2018-2019>80s Retro)
April 9
- 80's Retro Part 2 - Create an 80's Retro design for a product or band from the 80's(using the template provided - but manipulated by you)
- Make a fun headline
- Write some awesome copy
- Include the company/band logo
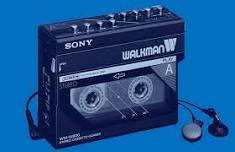
- you have no idea how cool it was to have a Walkman!
April 10
- 80's Retro Part 2 - Create an 80's Retro design for a product or band from the 80's(using the template provided - but manipulated by you)
-
Save to Synergy Dropbox as Retro2
April 11
- 80's Retro Part 2 - Create an 80's Retro design for a product or band from the 80's(using the template provided - but manipulated by you)
-
Save to Synergy Dropbox as Retro2
April 12
- BISAPALOOZA Poster - - BISAPALOOZA Poster
- Size: 20" x 30" resolution: 300
- BISapalooza logo (color)
- BISapalooza logo (B&W)
- BISapalooza logo (illustrator)
- When: Friday, May 3 - 2019
- What: Academic Carnival
- Keywords: fun, booths, games, brains, learn about BIS, science, math, teamwork, communication, problem solving, curiosity, creativity, innovation
Week 5: April 15 – 19
April 15
- BISAPALOOZA Poster - BISAPALOOZA Poster
- Size: 20" x 30" resolution: 300
- BISapalooza logo (color)
- BISapalooza logo (B&W)
- BISapalooza logo (illustrator)
- When: Friday, May 3 - 2019
- What: Academic Carnival
- Keywords: fun, booths, games, brains, learn about BIS, science, math, teamwork, communication, problem solving, curiosity, creativity, innovation
April 16
- BISAPALOOZA Poster - BISAPALOOZA Poster
- Size: 20" x 30" resolution: 300
- BISapalooza logo (color)
- BISapalooza logo (B&W)
- BISapalooza logo (illustrator)
- When: Friday, May 3 - 2019
- What: Academic Carnival
- Keywords: fun, booths, games, brains, learn about BIS, science, math, teamwork, communication, problem solving, curiosity, creativity, innovation
April 17
- BISAPALOOZA Poster - BISAPALOOZA Poster - upload to Synergy Dropbox
April 18
- Photoshop Design - How to Create an Old Photo Effect in Photoshop Old Photo Effect -
- You may use the image in the tutorial or one below or one of your own choice
- Jock Rock - Rogan - Sinks - Jon Snow - Captain Marvel - You
- Upload your completed Old Photo to Synergy Dropbox
April 19
- Photoshop Design - How to Create an Old Photo Effect in Photoshop Old Photo Effect -
- You may use the image in the tutorial or one below or one of your own choice
- Jock Rock - Rogan - Sinks - Jon Snow - Captain Marvel - You
- Upload your completed Old Photo to Synergy Dropbox
Week 6: April 22 – 26
April 22
- Photoshop Design - Layer mask effects advanced tips and tricks - use the pics provided in lesson or one of your own (right click, save image as...)
- Do all the tips but the listed tips below are the tips you need to save and upload to Synergy Dropbox:
- Tip #2 - save as hide
- Tip #3 - save as invert
- Tip #10 - save as copy - image should have both people or 2 people if you use your own pics
- Tip # 12 - save as fade
- Tip # 13 - save as feather
April 23
- Photoshop Design - Layer mask effects advanced tips and tricks - use the pics provided in lesson or one of your own (right click, save image as...)
- Do all the tips but the listed tips below are the tips you need to save and upload to Synergy Dropbox:
- Tip #2 - save as hide
- Tip #3 - save as invert
- Tip #10 - save as copy - image should have both people or 2 people if you use your own pics
- Tip # 12 - save as fade
- Tip # 13 - save as feather
April 24
- Photoshop Design - Layer mask effects advanced tips and tricks - use the pics provided in lesson or one of your own (right click, save image as...)
- Do all the tips but the listed tips below are the tips you need to save and upload to Synergy Dropbox:
- Tip #2 - save as hide
- Tip #3 - save as invert
- Tip #10 - save as copy - image should have both people or 2 people if you use your own pics
- Tip # 12 - save as fade
- Tip # 13 - save as feather
- Crater Design - Create a Flyer for Spring Spirit Week: 8.5 by 11 - dropbox as - Spring Spirit
Prom Spirit Week Days May 6th – 10th
Monday - May 6 - Small Schools Spirit Day (wear your school’s gear)
Tues- May 7 - Twin Day
Wed - May 8 - Western Day
Thurs - May 9 - Tie Day (Wear a proper tie or a bow tie)
Fri - May 10 - Flashback Friday (Wear clothes from your favorite decade.)
April 25
- Crater Design - Create a Flyer for Spring Spirit Week: 8.5 by 11 - dropbox as - Spring Spirit - dropbox to Synergy Dropbox
Prom Spirit Week Days May 6th – 10th
Monday - May 6 - Small Schools Spirit Day (wear your school’s gear)
Tues- May 7 - Twin Day
Wed - May 8 - Western Day
Thurs - May 9 - Tie Day (Wear a proper tie or a bow tie)
Fri - May 10 - Flashback Friday (Wear clothes from your favorite decade.)
April 26
- Crater Design - Create a Flyer for Spring Spirit Week: 8.5 by 11 - dropbox as - Spring Spirit - dropbox to Synergy Dropbox
Prom Spirit Week Days May 6th – 10th
Monday - May 6 - Small Schools Spirit Day (wear your school’s gear)
Tues- May 7 - Twin Day
Wed - May 8 - Western Day
Thurs - May 9 - Tie Day (Wear a proper tie or a bow tie)
Fri - May 10 - Flashback Friday (Wear clothes from your favorite decade.)
Week 7: April 29 – May 3
April 29
- Photoshop Design Square Photo Collage - https://www.photoshopessentials.com/photo-effects/square-photo-collage-photoshop/
April 30
- Photoshop Design Square Photo Collage - https://www.photoshopessentials.com/photo-effects/square-photo-collage-photoshop/
May 1
- Photoshop Design Square Photo Collage - https://www.photoshopessentials.com/photo-effects/square-photo-collage-photoshop/
May 2
- Photoshop Design Square Photo Collage - https://www.photoshopessentials.com/photo-effects/square-photo-collage-photoshop/
May 3
- Crater Design - Create a Flyer for Spring Spirit Week: 8.5 by 11 - dropbox as - Spring Spirit - dropbox to Synergy Dropbox
Prom Spirit Week Days May 6th – 10th
Monday - May 6 - Small Schools Spirit Day (wear your school’s gear)
Tues- May 7 - Twin Day
Wed - May 8 - Western Day
Thurs - May 9 - Tie Day (Wear a proper tie or a bow tie)
Fri - May 10 - Flashback Friday (Wear clothes from your favorite decade.)
Week 8: May 6 – 10
May 6
- Logo Design for TWI (Two Way Language Imersion) program at Jewett
May 7
- Logo Design for TWI (Two Way Language Imersion) program at Jewett
May 8
- Logo Design for TWI (Two Way Language Imersion) program at Jewett
May 9
- Logo Design for TWI (Two Way Language Imersion) program at Jewett
- Required:
- one color design
- If you do a front logo (10" to 10")
- If you do back of shirt logo (10" by 12" height)
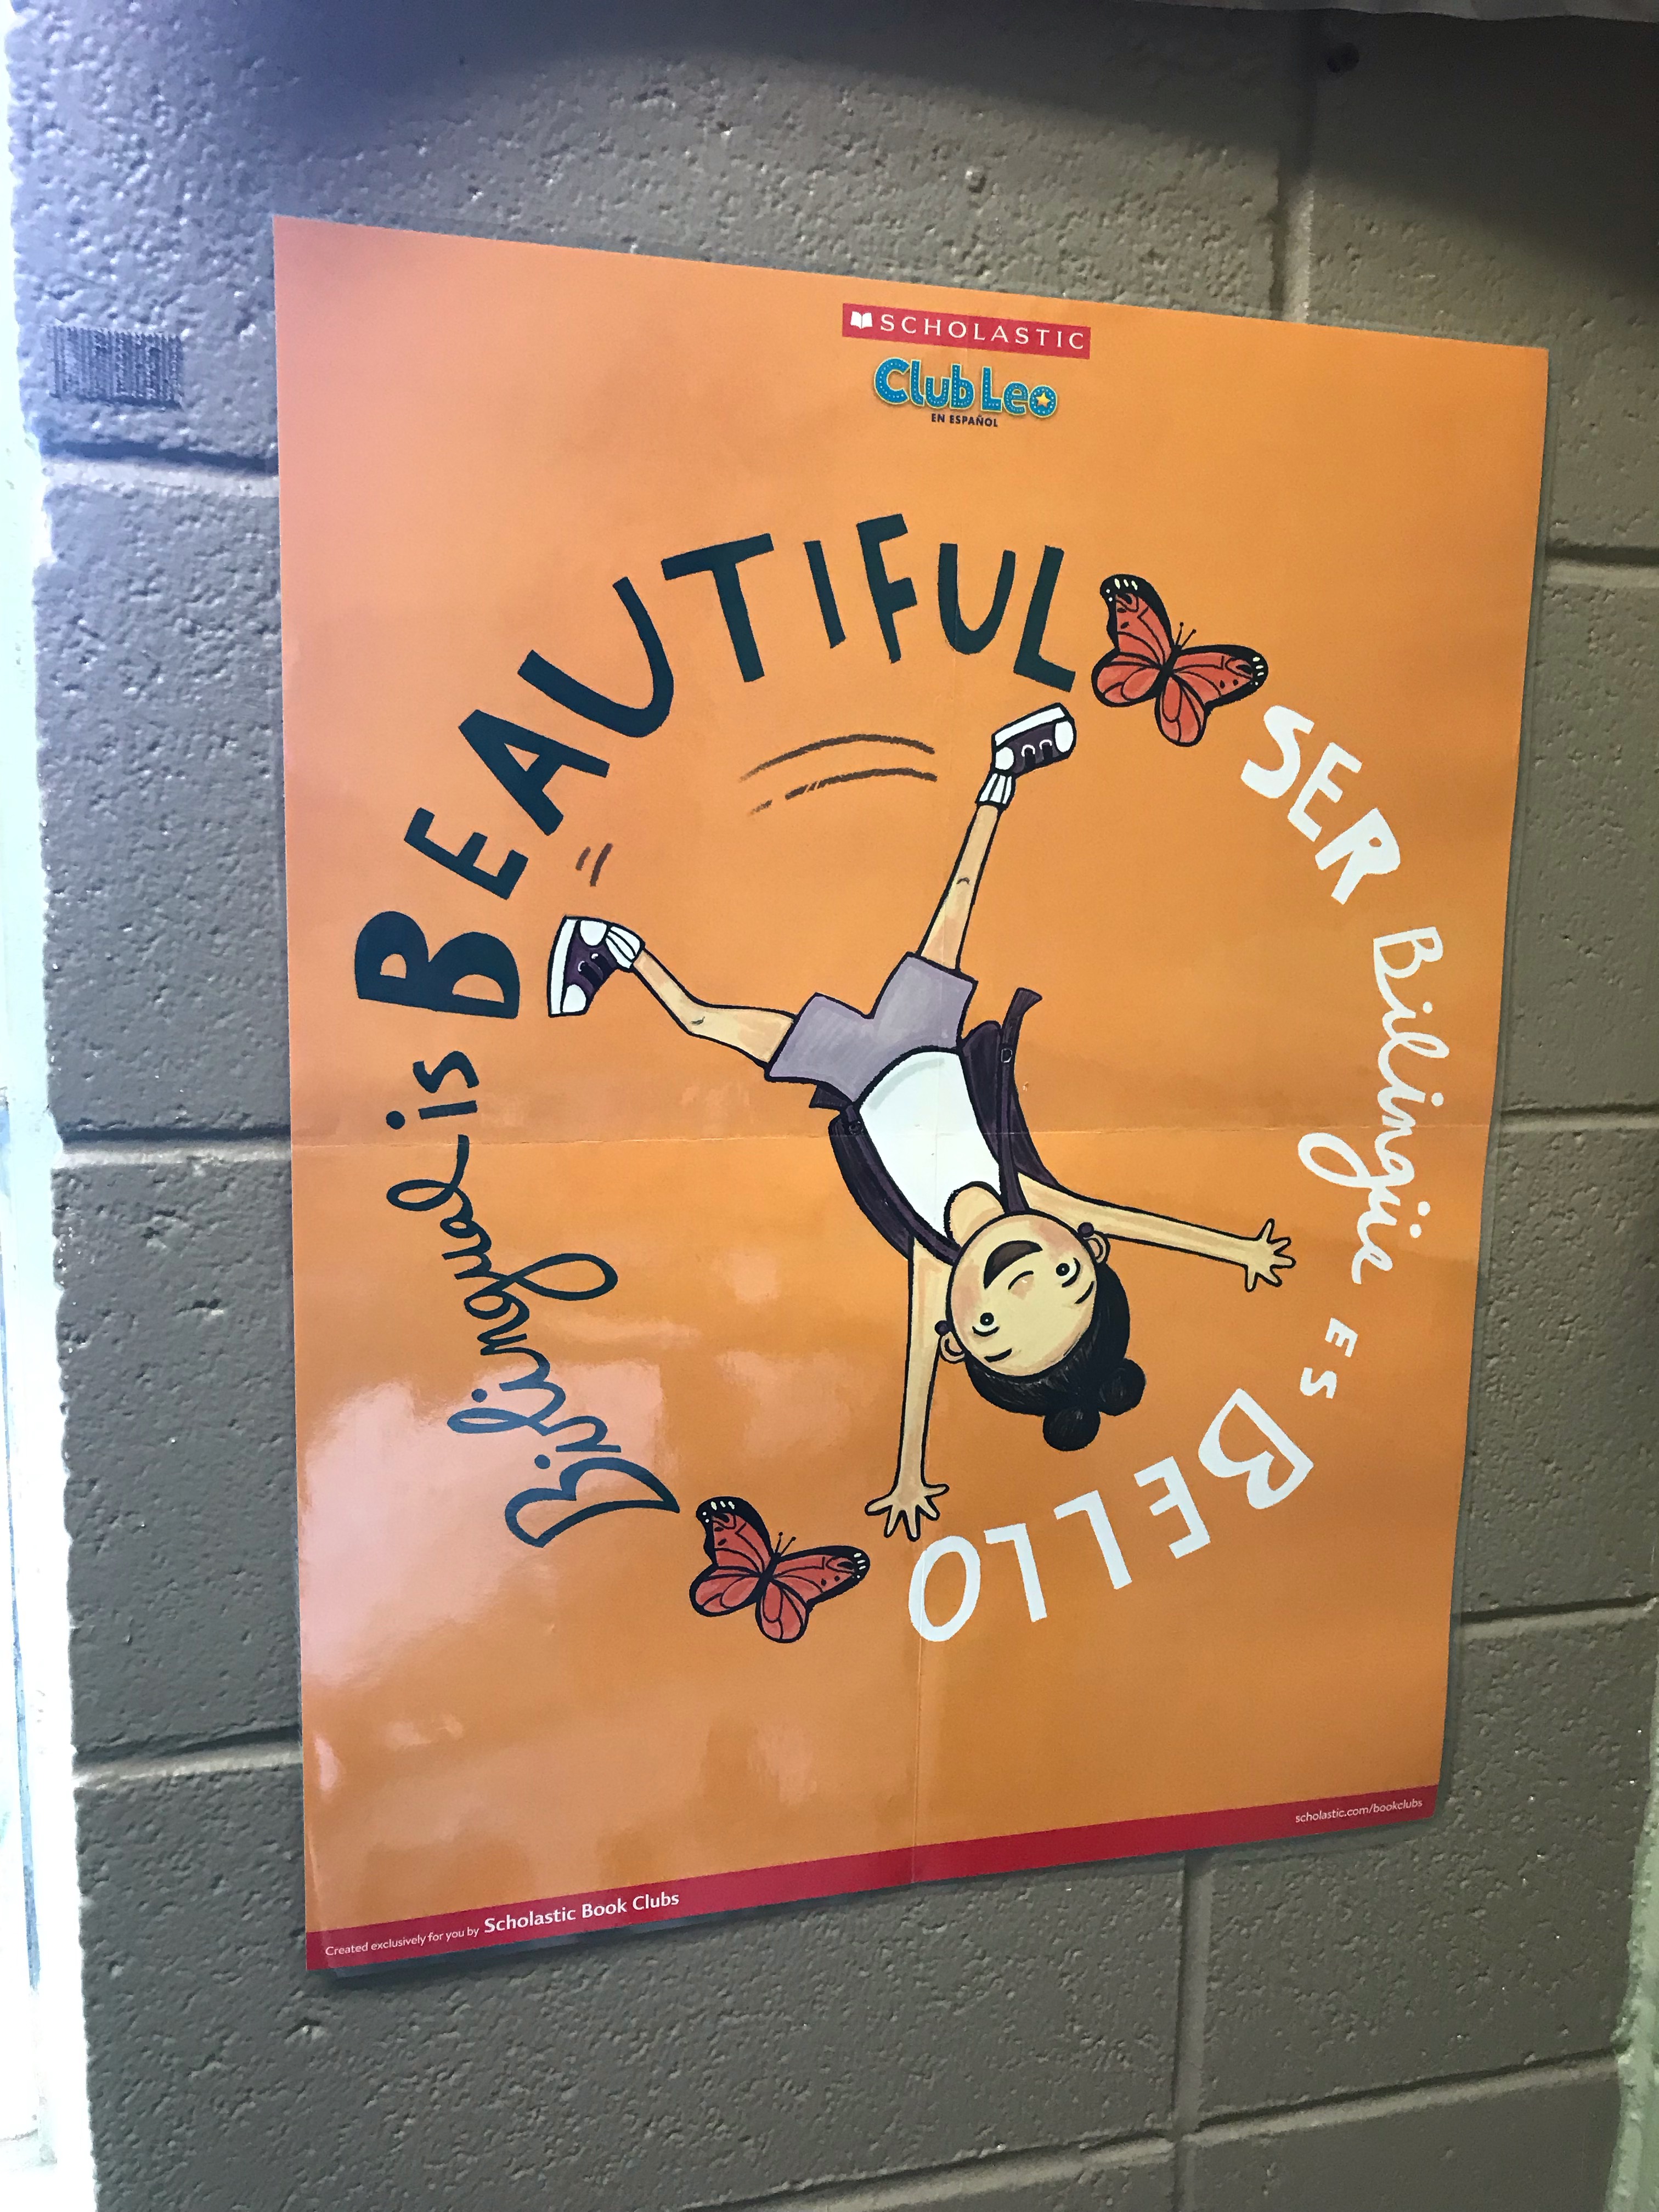
- The following words > Bilingual is Beautiful - Ser Bilingue es Bello - also, put double dots over the u in Bilingue
- The name of the school > Jewett Elementary School
- Some sort of imagery that represents the program (similar to the cartwheel kid in the image or butterflies)
- one color design
- Information
- Image that they like - not required in your design but can use as reference or inpiration (no Club Leo or Scholastic to be included in design)
- Two Way Language Immersion Program At Jewett
- Established in 2014
- Note from the teacher in program to think about as you make your design - "I want the t-shirts to show how being bilingual is an asset, it’s awesome, it isn’t easy, it makes us unique, it gives us opportunities, it opens our minds, etc."
- Due by Friday to Synergy Dropbox - you may create more than 1 image if you would like
- Required:
May 10
- Logo Design for TWI (Two Way Language Imersion) program at Jewett
Week 9: May 13 – 17
May 13
- If you haven't finished - TWI from last week > get that in today! Sharing with Jewett so they can choose.
- Almost Summer! - How to Merge Layers in Photoshop
- Kind of a reminder on how to use the blending modes - this will be a two part assignment
- Part 1 - follow the tutorial and create the beach/surf image - save as merge_beach
- Part 2 - create your own 3 image layer merge - save as my_merge
- Upload both (as images) to Synergy Dropbox - Assignment Merge
May 14
- Almost Summer! - How to Merge Layers in Photoshop
May 15
- Almost Summer! - How to Merge Layers in Photoshop
- Paint Symmetry - create Paint Symmetry
May 16
- Paint Symmetry - create Paint Symmetry
May 17
- Paint Symmetry - create Paint Symmetry
- In this assignment, if you have Photoshop 19
- you will be able to create the full symmetry through the mandala effect. Save the first part as sym_1 and second part as sym_2
- If you have Photoshop18 - you will need to add the Butterfly for the Symmetry brushes
- Go to Edit>Preferences>Technology Preview>click on the Add paint symmetry
- The butterfly will now show up when you have click on your brush tool
- You will not have Mandala effect
- Do the tutorial up to the Mandala effect - save as image and upload to Synergy Dropbox as sym_1 - then continue through the next part of the assignment - create the image up til they introduce the mandala effect again - save as sym_2
- In this assignment, if you have Photoshop 19
Week 10: May 20 – 24
May 20
May 21
- How To Blend Text Into Clouds With Photoshop
-
1st 8:50-9:35
2nd 9:39-10:24
3rd 10:29-11:13
TAKE STUDENTS TO ASSEMBLY
(3rd period teachers walk students to assembly)
Assembly 11:20-1:10
Lunch 1:12-1:57
4th 2:01-2:51
5th 2:55-3:45
May 22
May 23
May 24
Week 11: May 27 – 31
May 27
- Memorial Day – no school
May 28
May 29
May 30
May 31
Week 12: June 3 – 7
June 3
- Pencil Drawing Part 1 in Photoshop - image to use - upload to synergy dropbox
June 4
- Pencil Drawing Part 1 in Photoshop - image to use - upload to synergy dropbox
- Pencil Drawing Part 2 in Photoshop - use an image that you like - upload to synergy dropbox
June 5
- Pencil Drawing Part 2 in Photoshop - use an image that you like - upload to synergy dropbox
June 6
- Face Slide Effect - Part 1 - link to face - link to pointing fingers
June 7
- Face Slide Effect - Part 1 - link to face - link to pointing fingers- upload to synergy dropbox
- Face Slide Effect - Part 2 - do your own face! Upload to synergy dropbox
Week 13: June 10 – 14
June 10
- Face Slide Effect - Part 1 - link to face - link to pointing fingers- upload to synergy dropbox
- Face Slide Effect - Part 2 - do your own face! Upload to synergy dropbox
- Spark - DM Final
- Final Instructions - Create an Adobe Spark Webpage - A Portfolio of Your Digital Media Work Tri 3 - Your Spark should tell your story in this class this trimester were we did some advanced Photosphop work. We want comments on your work in the Spark. Think of this Portfolio as something you could share with a potential college, employer or organization that you would like to do design work for.
- Requirements
- Final Instructions - Create an Adobe Spark Webpage - A Portfolio of Your Digital Media Work Tri 3 - Your Spark should tell your story in this class this trimester were we did some advanced Photosphop work. We want comments on your work in the Spark. Think of this Portfolio as something you could share with a potential college, employer or organization that you would like to do design work for.
- Each of your Tri3 Assignments
- Your Spark needs to incorporate multiple abilities of the program including (in order to get full points).:
- Title -Tri3 - A Portfolio of Digital Media Work
- Subtitle can be your name
- images
- a collage of images
- text - that describes the skills you learned with the images
- add a button - Hyperlink to another page - this could be to our agenda for this class, Adobe, etc
- add a glideshow
- split a layout
- spell and grammar check
- Due by the end of class on Wednesday - send us via email to Rogan and Sinks your Spark url - Subject - DM Final - Tri 3 Spark - In the body of the email - include the Spark link to your final - Answer the following question - My plans for this summer are ...
June 11
- Spark - DM Final
June 12
- Spark - DM Final - due at end of class
June 13
- End of Trimester 3
