

Go Big! Typography Snowboarding Poster
The BIS Photoshop Tutorial Series
Learning how to use type is essential in design. Understanding when and where to apply size, style, and weight is essential to creating an effective design. In this tutorial, you're going to learn how to use some new filters and apply some basic typography techniques. Before you get started, do the following:
- Start by creating a new folder and title it "goBigTypography"
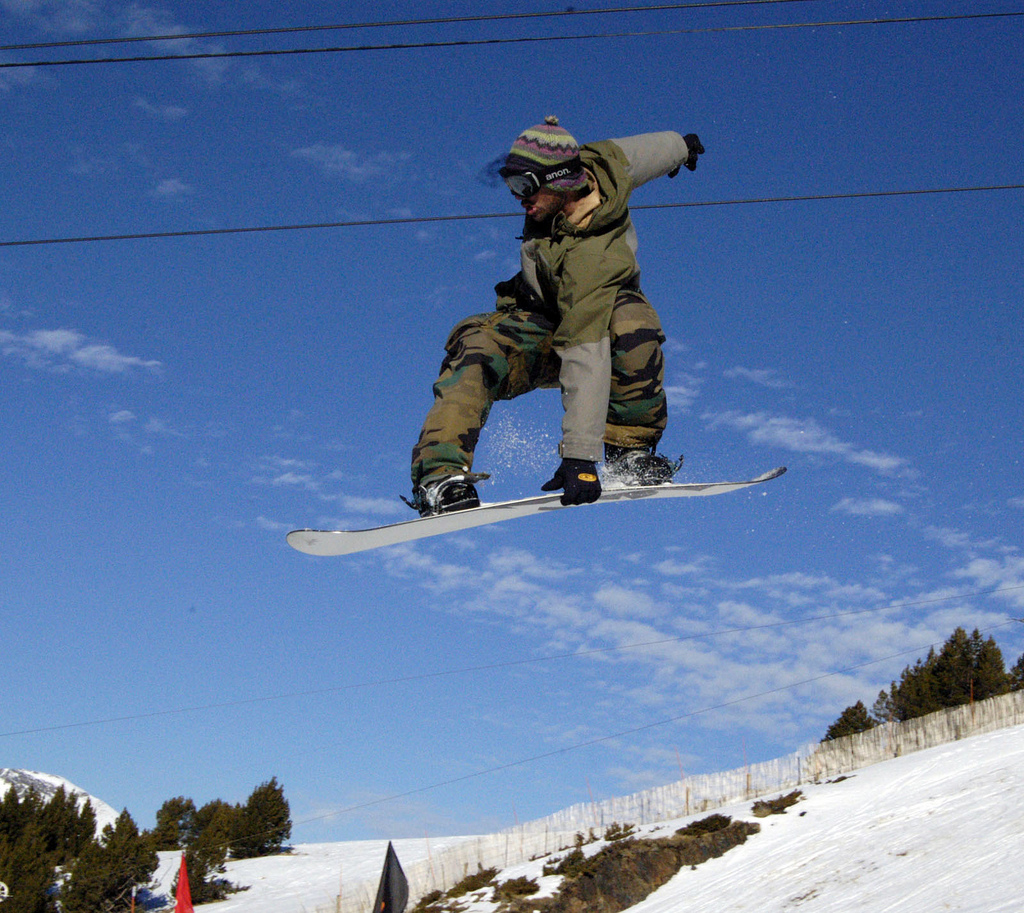
- Click here to save the snowboarder image
- Download these two fonts: Tiza and Downcome
- Click here to download Grunge Brushes (zip)
- Extract the "Grunge_ila.zip" by double-clicking on the file icon, then clicking the "Extract All Files" button at the top of the window
- Save in the "goBigTypography" folder you created by clicking the "Browse" button and navigating to your U drive
- In Photoshop, click the Brush Tool
- In the Options Bar (the sub-set of menu controls for individual tools at the top of the document window), click the Brush Panel button (looks like a mini folder with three arrows)
- When the Brush Panel opens, click the Brush Preset button at the bottom of the panel (middle button)
- Click the Load button
- Navigate to the "goBigTypography" folder in your U drive where you saved the "Grunge_ila.zip" file"
- Select the "Grunge_ila" file
- The Brush presets should now include a new set of grunge brushes for you to use
