

Portfolio: Inserting and Styling Content
Inserting "Resume Profile" for the Home Page
As we complete pages for the portfolio, we will start to see less and less styling required for each page. This is because we've already created styling for most elements, and as we get to them all, you will notice many elements are already styled.
Insert the "Profile" Heading
- Open "index.html" by double-clicking on the file in the Files Panel
- Select the text "Content for id "content" goes here"
- Delete the text
- Type "Profile
- In the Properties Inspector panel, change the format from a paragraph to a Heading 1
- Since we styled the <h1> tag in the Resume, the "Profile" heading should be styled the same way
- You should see the "Profile" text size change and notice the text is spaced away from the top and left borders
- Place the cursor after the "Profile" text
- Hit the return/enter key to drop down a line


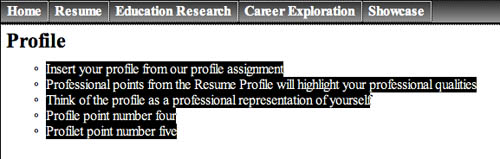
Insert the Profile Bullet Points
Next, we need to insert the Resume Profile points from the Resume.
- Open your "Resume Profile" or your "Resume" in Word
- Highlight your Profile points, then ctrl c or right-click copy the points
- Back in Dreamweaver, place your cursor beneath the "Profile" heading
- Click Edit > Paste Special; the Paste Special dialogue box opens
- Select the second option "Text with Structure"
- Click OK
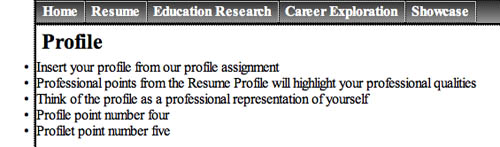
- If you've styled the <ul> and <li> tags correctly in the Resume page, you should see your bulleted list appear styled like the image below.
- Before we go on to the next step, hit the return/enter key two (2) times to create additional space below the unordered list. When you hit the return/enter key once, it creates another bullet point – when you hit return/enter key a second time, it drops the bullet point and makes the line a <p> paragraph. We'll need this space to insert the goals <div>
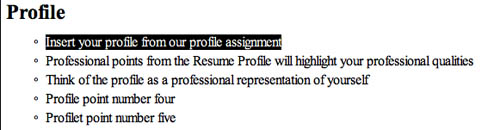
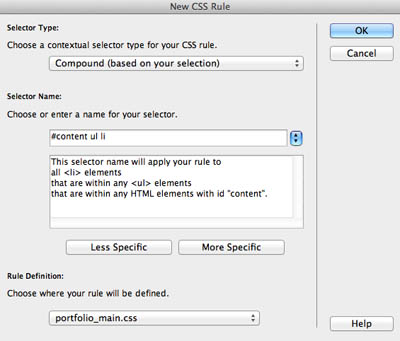
If your bullet points are not styled because you inserted your profile points as a paragraph or there is some other reason, you may need to style your bullet points. Follow the steps below to style your bullet points if they are NOT style already.
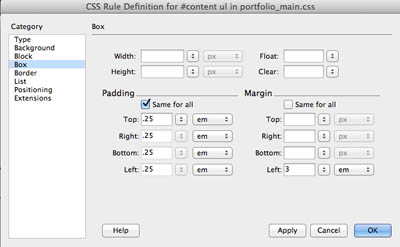
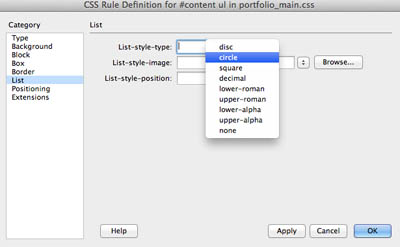
Styling the Profile Bullet Points

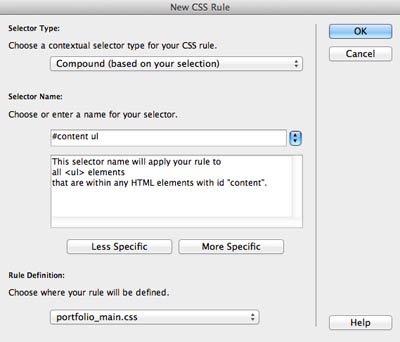
- 3em is the equivalent to around 20 pixels, and will "push" the bullet points away from the left margin
- disc – a solid dot
- circle – a hollow dot
- square – a solid square

Next Steps
In the next exercise, we will insert your goals by creating a new <div> tag and nesting it inside of the content <div> below the bullet points.
